Diese Biene, die ich meine…
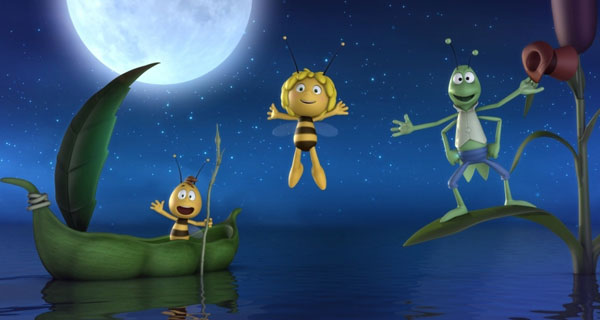 Es wird neue Folgen von Biene Maja geben. In “3D” natürlich, und ob dieser Pressemitteilung denkt man sofort an Stereoskopie. Aber weit gefehlt, es handelt sich um “3D” im Sinne von CGI. Die Mitteilung wird garniert durch ein paar Screenshots, von denen hier einer abgebildet ist.
Auf die Gefahr hin, potentielle Arbeitgeber zu vergällen: Oh je, sieht das altbacken aus. Das Character Design ist ja noch ok – schließlich geht es darum, die bekannten Figuren wieder erkennen zu können. Aber das Shading?! It’s just soooo 90’s.
Zum Vergleich ein schneller Überblick über semi-fotorealistisches, cartooniges Shading, das wir in den letzten Jahren genossen haben:

Transluzentes Blattwerk in A Bug’s Life. Anno 1998!
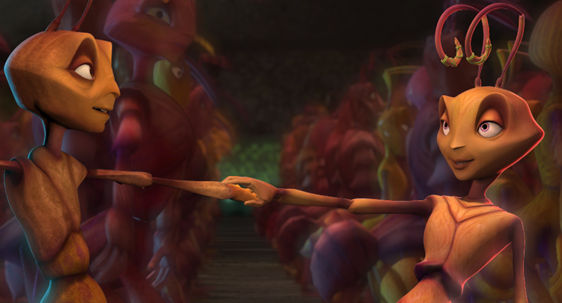
Lighting & Shading in Antz, ebenfalls 1998.

Skin-Shading in Oktapodi, 2007

Details an Augen, Haaren und Haut in Cloudy With a Chance of Meatballs, 2009
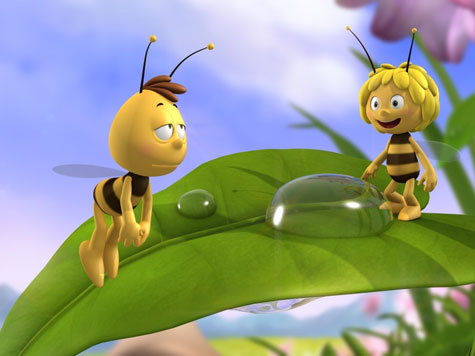
Die Biene Maya und ihr Freund Previz, 2011?
Es ist ja nicht so, dass es Deutschland an fähigen Artists fehlen würde (ich kenne jedenfalls eine Menge). Und natürlich habe ich keine Ahnung über Budget und den gewährten Zeitrahmen für das Maja-Remake… Aber ich glaube, nach allen meinen bisherigen Branchen-Erfahrungen, dass die Verantwortlichen beim ZDF sämtliche coolen Designs so lange abgeschossen haben, bis so etwas als kleinster gemeinsamer Nenner herausgekommen ist… Schade. Innovatives und Schönes wird dann eben weiterhin in Frankreich oder in Übersee produziert.
Bei der FMX und dem Stuttgarter Trickfilmfestival, die beide nächste Woche stattfinden, wird wieder zu sehen sein, was aktueller Stand der Technik und der Kunst ist.
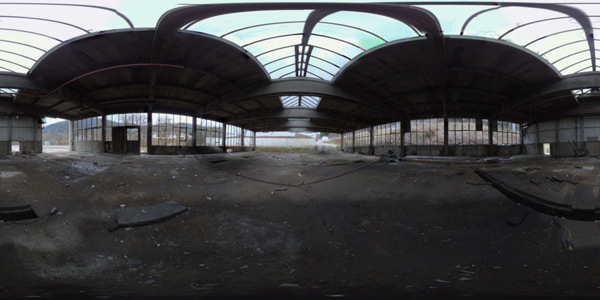
Cube Map to Equirectangular (LatLong Map)
Now and then you need to touch up matte paintings or sky domes that have been stitched from photos and thus are in a panoramic format like the equirectangular – also called latlong – format.
In these cases a useful workflow involves rendering an undistorted view using a camera with an angle of view of 90 degrees and a square film back. If you did this 6 times along each axis it would be called a cube map, but usually you only need one face of the cube for retouching and it doesn’t have to face exactly in the same direction as an axis.
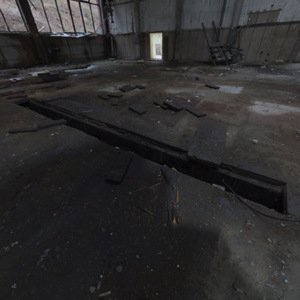
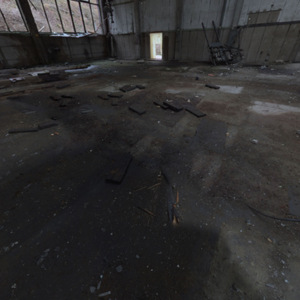
The advantage of these cube maps is that straight lines stay straight, which means you can easily use Photoshop’s vanishing point tool on walls and floors. The problem is the inverse transformation, that takes you back to a distorted, equirectangular panorama. Nuke has a nice tool called “SphericalTransform”, but Fusion users had to rely on 3rd party plugins or software like Hugin or HDR Shop.
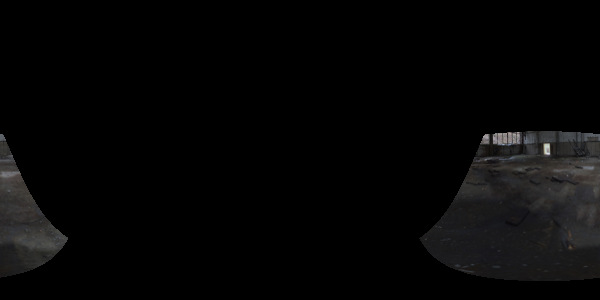
The modified cube map tile is transformed back into a latlong map.
Well, not anymore. This Fuse, called CubeToLatLong, will do the inverse transformation for you. The formulas I’ve used can be found here.
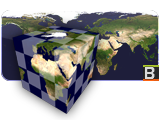
Download CubeToLatLong_v1_0.Fuse or read more about it on Vfxpedia.
Soviet Photo Manipulation
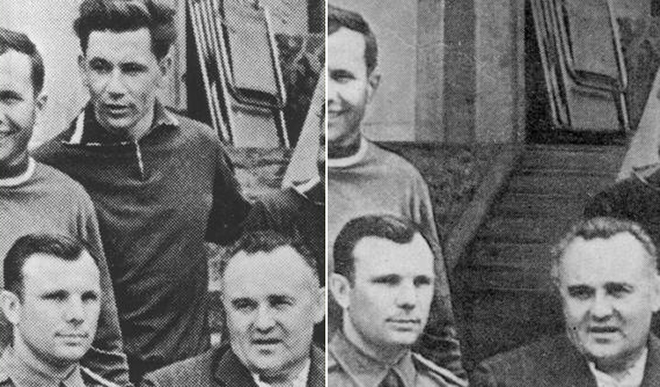
Wired Magazine has an interesting article about doctored photographs of the Soviet-era space program. Some pictures have been edited amazingly skillfully to remove failed or deceased cosmonauts or high-ranking military personnel.
But don’t look down on the Soviets. You don’t have to google much to find reports of similar manipulation when it comes to modern photo journalism.
Headache
Great comic by xkcd, especially since I’m working on a stereoscopic project right now 😀
Click the image for a 3D version (fortunately just an April fool’s joke)
Lightning for Fusion
I’ve finally finished the lightning plugin for Fusion. It’s based on ActionScript code by Dan Florio. I don’t provide GUI controls for all variables though to keep things simple but there are some additions to make the plugin more useful for VFX shots.
For example, you can animate the lightning in a looping “wiggle” or crawling motion in addition to just randomizing the whole shape. Also, the direction of the lightning’s branches is biased towards the target point.
Download Lightning_v1_1.Fuse here or head over to Vfxpedia.
Here’s a short clip of what it looks like:
[flowplayer src=’LightningTest.mp4′ width=480 height=270 splash=’LightningTest.jpg’]
2D Track to 3D Nodal Pan
Here’s a pair of formulas that convert a 2D tracker’s position to rotation values for a 3D camera. Of course, this only works for nodal pans, and even in that case, it doesn’t handle Z rotation properly.
But if you have a camera that just pans or tilts, this allows you to – for example – add a 3D particle system or camera projection. The focal length can be chosen arbitrarily, as does the aperture (film back). The ratio of aperture values, however, has to match the image aspect!
In Fusion, the tracker provides an output for its stabilized position. Its zero position, however, is 0.5/0.5 which needs to be taken into account. Plus, the camera’s aperture is measured in inches while the focal length is measured in millimeters. Hence the conversion factor or 25.4. Of course, “Tracker1” needs to be replaced with whatever your tracker is called.
//X Rotation:
math.atan(25.4 * ApertureH * (Tracker1.SteadyPosition.Y-0.5) / FLength) * (180 / math.pi)

//Y Rotation:
-math.atan(25.4 * ApertureW * (Tracker1.SteadyPosition.X-0.5) / FLength) * (180 / math.pi)
Here’s an example comp for Fusion.
In Nuke, the tracker returns pixel values, so we need to normalize them to the image width. Also, the tracker needs to be switched to stabilization mode for the return values to be correct. Add these expressions to the camera’s rotation:
//X Rotation:
atan(vaperture * (Tracker1.translate.y / Tracker1.height) / focal) * (180 / pi)

//Y Rotation:
-atan(haperture * (Tracker1.translate.x / Tracker1.width) / focal) * (180 / pi)
edit: in my initial blog entry, vaperture and haperture were swapped. This has been fixed on 2011-05-15.
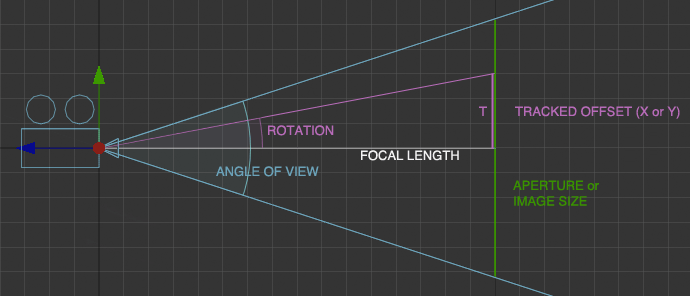
I won’t bore you with the derivation, but here’s a diagram in case you want to do it yourself 🙂
3D Colorspace Keyer for Fusion
While trying to find information about the math of Nuke’s IBK I rediscovered vfxwiki, formerly miafx.com. Its chapter on keying is quite a treasure trove of information.
I’ve implemented the formula for a 3D chroma keyer as a macro for Fusion. You can find it along with usage information on Vfxpedia.
The Keyer treats pixels as points in a three-dimensional space (HSV by default). The alpha channel is created by looking at each pixel’s distance from the reference color. Two formulas are implemented. The “Manhattan Distance” and the direct route as defined by the Pythagorean Theorem:
distance = sqrt( (r1-r2)^2 + (g1-g2)^2 + (b1-b2)^2 )
The latter results in a much softer matte that needs to be processed futher but which is perfect for semi-transparent areas or fine hair detail. Check out the example key, pulled from a free green screen plate by Hollywood Camera Work:

If green screens like this existed in real life… 🙂 I’m usually given dull cloth with wrinkles in it.
Download the macro or view the help page on vfxpedia.
